Thursday, March 28, 2013

The Paisley Pixie: The Hair

The Hair

Several weeks ago I did an informal hairstyle survey for my own benefit. I need to write up the results, similarly to the posing article, but most of my analysis is already on Pinterest: Hairstyles 1800-1810, and Hairstyles 1810-1820.  I stuck mostly to portraits for this analysis, attempting to see what Real Women Wore.  Fashion plates have very clear diagrams, but the styles tend to the extreme.  They also presuppose things like a very low hairline/forehead, super thick front hair, or very precise curls, which isn't helpful for everyone.

Preliminary conclusions of the most common style:
* Hair pulled back straight and up high in back (showing for 1-2" above the crown of the head), in curls, soft loops, and/or braid.
* Crosswise part, sometimes ear-to-ear, often further forward (some less than 1" deep).
* Front hair parted center, side, or diagonally.
* Front hair in short curls, usually tight and defined, sometimes loose and fluffy, and (in this survey) never longer than the lobes of the ears/corner of the jaw.  (Only exceptions were the "extreme Classical" style with lots of loose, stringy curls, or the soft, longer hair of the late 1790s. I didn't find any examples of long "sausage" curls in front of the ears.)
* Often the center hair, or "bangs," is shorter than the rest of the front hair, and curled inward like spit curls instead of in ringlets.

This is a very limited survey, but it really helped me to focus on what I wanted. Instead of throwing my hair in hot sticks, trying to pin the messy curls up in "artless disorder," and doing something random with my bangs. ;)

I started with day-old hair that had already been set in pincurls. I re-set the very front, but I had some excellent tight curls that made the back hair a snap to arrange and keep up.

DSC06500
I did a crosswise part that framed my face and ended at the hairline in front of the ears.

DSC06501
Then I set pincurls, using setting lotion and making them quite small. The longer side curls I curled forward and down. My shorter bangs I curled forward and up, to get a spit curl shape.

DSC06502
I brushed the rest of my hair straight back and put it in a fairly high ponytail. My head is somewhat sloping and flat right there, so I need to work extra hard to get the proper height.

DSC06503
I wrapped my long braid hairpiece in a wide, loose loop around the ponytail.

DSC06505
I pinned the loop forward to make sure it stayed high enough. I could have pulled it even further forward. Plan for gravity!

DSC06507
As best I could, I separated my ponytail into big ringlets, fluffed them, and pulled them around the braid.

DSC06509
I pinned them here and there.

DSC06511
I tried to pull some forward, too, so they were visible from the front.

DSC06513
Then I brushed out the pincurls. The magic about pincurls is that they can be brushed into a particular shape. On this side, I brushed them over my fingers into a soft but still tight sort of ringlet-roll.

DSC06514
On the other side, I ended up with some better ringlets and fluff. The bangs I didn't brush much; they curled nicely.

DSC06512
Ta-da! Pre humidity and wind!

DSC06971
Wet and wind are enemies of curl, but wet sets and setting lotion go a long way. No hairspray!


I really like the style.  Even with the extreme humidity, my curls relaxed only slightly. (Wet sets all the way!) Wind would have blown them out, but that's something they would have dealt with back then, too.

DSC06939

I actually kept the hairstyle for that evening (without the bandeau!), when I sang in a choir concert.  Even with the front curls it wasn't too far from a modern formal updo.


What I would do differently:

1. Pull the ponytail even further forward; maybe an inch. Gravity pulls it back, but it could have started higher.

2. For the side front curls, use tiny rollers instead of pincurls. Flat pincurls are best for waves, but they're not so good at ringlets. Rollers or standing pincurls are how to make ringlets. I can't sleep on standing pincurls at the side of my head, so I'll use either small foam rollers (1/2") or, more likely, the smaller vintage metal ones.

Even with pincurls, though, the look is pretty good and it stays. Yay!

Wednesday, March 27, 2013

The Paisley Pixie: The Gown


DSC06951
(photo by festive attyre)


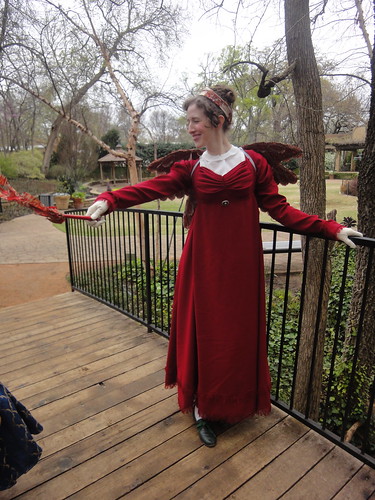
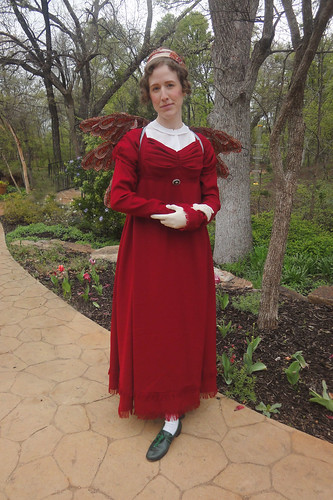
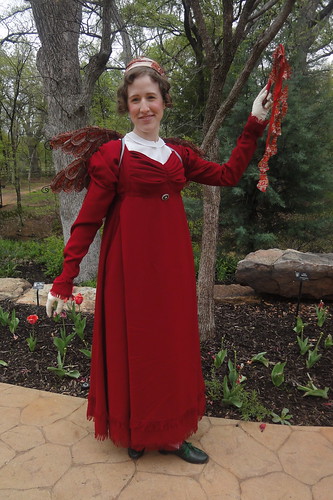
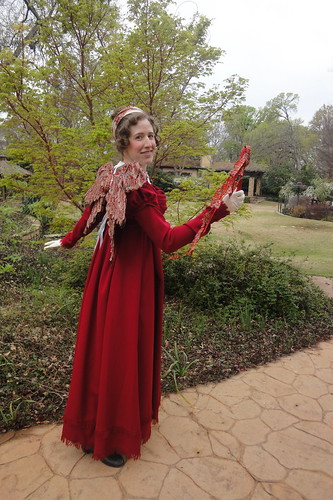
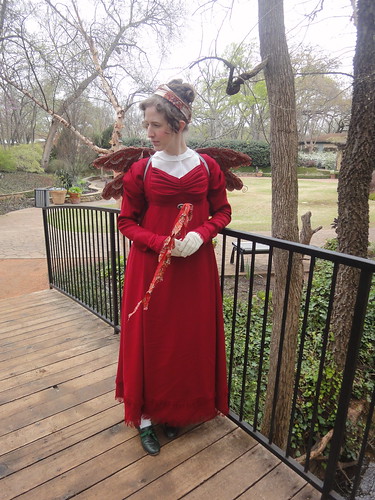
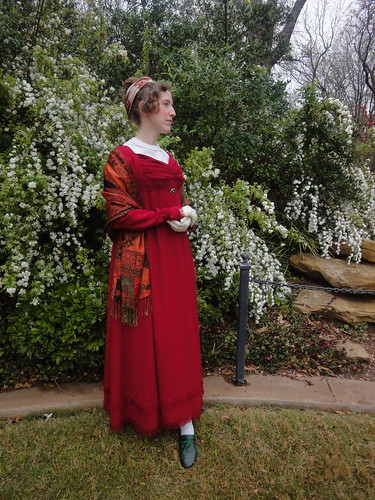
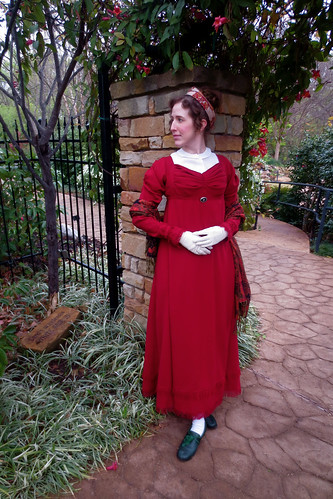
It's a bit difficult to post about the dress. I already focused on the fringe for HSF #4, and my first post back in January had most of the design inspiration. The finished product is pretty much exactly what I had in mind. Rare for a perfectionist!

The skirt is mostly Skirt D, from Jean Hunnisett's Period Costume for Stage and Screen.  (I use Hunnisett quite a bit for Regency. The book is not intended for total accuracy, but the Regency diagrams are taken from originals. And they cover the progression of Regency fashion, particularly covering the gaps left by Patterns of Fashion.)  Skirt D was originally from a very narrow-width fabric, so it has one straight width in front, two right-angled gores on each side, and another straight width in the back.  I cut my gores close to the original diagram proportions, while the back was a single full width.  In hindsight, this was probably a little too much material for the period.

DSC06158
Cutting the gores by drawing with chalk directly on the fabric.

DSC06189
A tip from my mother: Use sticky dots to label pattern pieces and even right side/wrong side.

I did not do a straight rectangle for the front of the skirt. I wanted plenty of fullness/swing at the hem, and a perfectly straight-fronted skirt is not a good idea on my wide hips. I am slightly paranoid that one of my gowns will pull across the hip when I stand straight!  I made two changes:
(1) I cut a narrow trapezoid instead of a rectangle, so there was more fullness at the hem.
(2) I cut the waist concave, instead of straight; this causes the material to drape slightly in the center.
I have no idea how essential these changes were (and they are period variations, by the way), but I have little to complain about with the shape I got. There certainly was no pulling at the hip.
IMG_0868
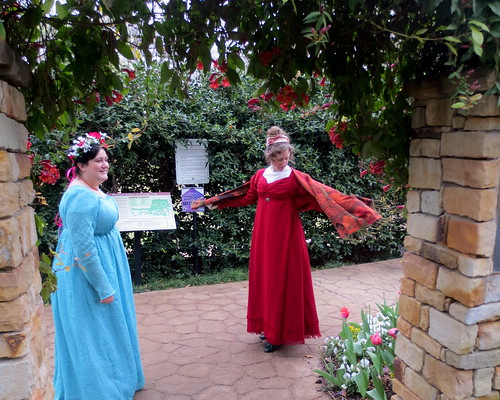
Too much of an overlap/pleat with the apron front? (photo by festive attyre)


Putting the skirt on the bodice was an unexpected difficulty. I didn't want to do knife pleats, because the Dreamstress had just done that for her wool Regency gown, and I wanna be special. ;)  So I tried gathering it, only to discover that even with big hand gathering stitches, I couldn't gather the material tightly enough.

Then I tried various combinations of wide box pleats: centered, symmetric, stacked, box and knife combinations... The joker in the deck, besides the springiness of the fabric, was the upward curve of the waistline. When I set these box pleats in straight and then hung it, the sides of the pleats pushed upward.

DSC06214
Pooch!

I think I basted in and tried on five variations, all told.  This experience is the one that will make me finally get a dress form!

DSC06989
I think there are triple stacked pleats in the center, and double on the sides. (photo by festive attyre)


The bodice itself is closely adapted from the Patterns of Fashion bib front gown (c. 1798-1805). It was not too hard to fit; the main issue was adding width in the center back and under the arms to keep the armholes placed correctly.  The sleeves were a whole 'nother issue, however.

See, I was already on shaky ground trying to get a c. 1810-1815 shaped bodice and sleeves out of a c. 1798-1805 pattern.  I thought that the pattern was dated only due to the skirt's train and the loose, elbow-length sleeves; since I was doing a different skirt and changing the sleeves, I thought I would be good. I really wanted to keep the pattern's small back, bib front, and cut-back armhole shape.  Guess what: Sabine, on her amazing 1815 gown, demonstrated that 1810s armholes should be on the edge of the shoulder, not over the back. Whoops!

DSC06152
My second muslin, testing the back waist curve and initial versions of the lining sleeve and puff sleeve.

So I guess I'm shading this one back to ca. 1810 instead, when the bigger armhole is more likely.  It's a bummer from one perspective, but still, I'm so glad to know. One of the things I love about making historical clothes is the learning. There's always more to discover!

Anyway, I wanted the short puff sleeve very short but full, with precise and interesting pleats, and an upward curve at the edge. I went through probably four muslins, before I got a decent shape. I ended up adding fullness to be controlled by pleats into the back of the armhole, a downward "swoop" at the edge that was gathered up with pleats in the center of the sleeve, and the edge itself controlled by more pleats.  The wool was perfect material for this style of sleeve, because it's wonderfully drapey, but still has plenty of body to hold out the pleats and not go limp.

DSC06175
Final pattern shape for the puff sleeve.

DSC06178
Pinning in the center pleats to take up the fullness.

DSC06179
Center pleats and cuff pleats basted.


DSC06180
Sleeve head pleats basted.
DSC06248
Finished!

IMG_0897
(photo by festive attyre)

They do look a little extra-puffy from the back. Oh, well!  I still like them.

I've also already explained the fringe addition to the edge. It's subtle, but I like the extra texture it gives.

DSC06381
Back view, finished, with fringe and band.

I did two other sleeves as well. As with the PoF gown, I did a short linen lining sleeve with no fullness, and a long straight-ish sleeve that would button onto it.  The long sleeve is adapted from Hunnisett, but it's super simple: a long narrow trapezoid, with a little flare after the wrist so it can fall over the hand. Wrist bands are set into the sleeve seams, and wrap around and button to form a cuff.

DSC06956
(photo by festive attyre)

The sleeves worked fairly well. I wish the wrists were a little smaller; I may go back and narrow them.  I will also raise up the attachment buttons. I kept revising the puff sleeve to be so short that I was afraid the long sleeves would pull up. Instead, I had some extra length. The white under sleeve did peek out under the puff sleeve at times, so I have both reason and room to move the attachment buttons up.


The bib front I based on a blue figured silk example. I made a first mockup with pins, trying for the closest proportions of the pleats. I made the pleats much deeper than visible; each one is about 1.5".  The center shaping is just a dart.  The pleats are not sewn down, as far as I can tell; they're secured at the edges and the center.

DSC06117

I made a better mockup, with my best guess for width, and pinned it into the gown. I discovered that the original piece had to be an upside-down trapezoid to give it enough fullness to dart out at the edge. Also, I found that because of the "shelf" given by my stays, the center front dart would be strongly curved or bent instead of straight. But the pleat proportions were good.

DSC06250

I cut a piece out of the fabric, on the bias, 3-4" larger than I thought it needed to be. I did the pleating on the center front, then kept trying it with muslin side bands on to determine exactly how wide to make the finished version.  As with the sleeves, the wool was a great material for this style.  It would not have the same effect in cotton.

DSC06253]

DSC06375

DSC07008
(photo by festive attyre)

Now that it's done, I can see from pictures that the bottom pleat should have been even deeper than 1.5". It's pulling out as the bib is folded over the shelf of the bust.  There's no fixing it at this point, although I might try to pin the bib front a little lower to relieve the tension.


At the last minute, I added a tiny bum pad. It's just a piece of muslin wrapped around a little of the thread left from making the fringe, tacked together and then to the dress. I'm not sure how much of a difference it made. Should it be stuffed a little more?

DSC06532

And finally, I added an interior waist tie.  It's tacked at back, sides, and side fronts with a little extra ease.  Thus when I tie it, it puts a smidge of extra tension on the bodice itself, making sure it's totally smooth around the stays.

DSC06534


Tuesday, March 26, 2013

The Paisley Pixie: Wings 'n' More

I started to make this one post with the Picnic, but there's just too much to combine. So I'll be doing some separate post on the construction of the Paisley Pixie.  And also so this blog doesn't look so ME ME ME ME as the last post did!

IMG_0872

The Wings

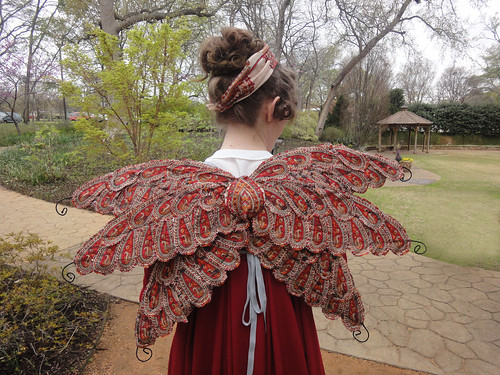
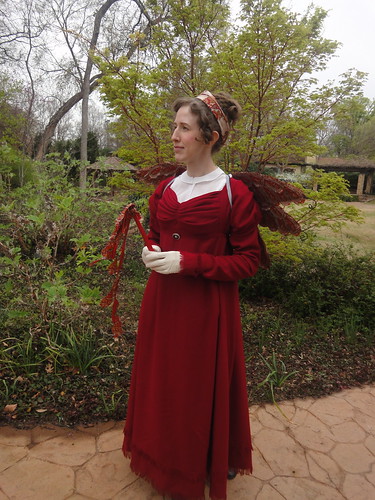
 Back in my first post on the Paisley Pixie, I showed the vintage sari that I was going to use to create wings. Last week I finally took pinking shears to it and cut out over 140 large botehs, or paisley motifs.

Vintage Silk Sari 1

DSC06479

I took the glittery fairy wings out of their package, spread waxed paper all over my cutting table, swiped a can of spray adhesive from my parents (with permission), and got to work.  Or tried to.

DSC06483

I made a foundation layer for the wings from the main part of the sari. I wasn't sure how completely the paisley feathers would cover.

DSC06486

I've never used spray adhesive before; eventually I figured out it wasn't strong enough to hold everything on, even with tissue-thin silk. It stayed sticky, and the fabric started sticking to the wax paper instead of to the wings.  I tried putting some of the first paisleys on with adhesive, saturating them to get enough glue.  Instead they just turned dark, with a sticky layer of visible glue on the surface of the fabric.

DSC06490

Real fabric glue was the next step.  I grabbed the first thing I found at Joann's and tried again. It worked much better, although it was very thick and stringy, like hot glue, and I quickly ran out. I did most of the front of the wings with it, though, and was encouraged.

Next time I got a different kind of glue. It was more liquid and much easier to use.  Unfortunately, it also soaked through and darkened the silk, permanently. I didn't discover this until the back side of the wings - the side totally unblocked by my body when worn - had been finished.  After giving up for a few days, I used extra paisleys and carefully layered them over the darkest and most obvious blotches. That was as good as I could get it.

DSC06981

The wings, as originally designed, stayed in position between my shoulder blades with some elastic loops. The glue and silk, although super light, added enough weight that the finished wings sagged. So I pinned some gray twill tape to the center back and used it to tie the wings into place.

DSC06963


The Accessories

I don't think I got any pictures with the fringed reticule. It was used, though, and very glad I was to have it.

The wand is a medium-sized loom bobbin. I found it at the Antique Elegance show in February for $6. I tied on some streamers of scrap from cutting out the bobbins and went with it.  I figured a bobbin was appropriate for a Paisley Pixie!

DSC06544

The chemisette is one I made for 1860s several years ago, with a plain narrow collar.  It's not so typical a style for the 1800s-1810s, but it's perfectly plausible. And it was far better than nothing. I have plans for different types of chemisettes, ruffs, and even a "habit shirt" for this dress eventually.

I wore green Robert Land shoes. These are appropriate for the 1810s, although the latchet style seems like a throwback to the 1770s and 1780s. But the flat profile and rounded toe is a transition, from the pointy-toed heels of the 1790s and pointy-toed flats of the 1800s to the square toes of the 1830s.


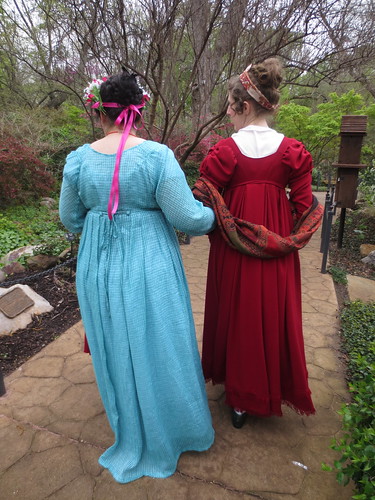
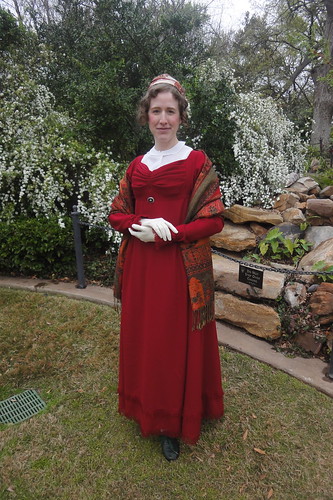
The shawl I picked up at a Civil War reenactment several years ago; I honestly don't remember where. It's not really big enough for either the 1860s or for Regency, but the pattern is wonderful. If I ever find the source again, I want to get two and seam them together for the perfect Regency shawl.

And finally, gloves. These are a total cheat: 1950s nylon!  But they are finished and embossed to look like kid leather. Real kid leather gloves get brown spots when they get wet, so I was not going to use my nice leather gloves on a picnic. Sorry, world!  I'm meditating a search for mustard yellow leather gloves, though. Yellow was a popular color for gloves and shoes. Wouldn't that be nice with the red?

DSC07008

Monday, March 25, 2013

Picnic with the Pixies

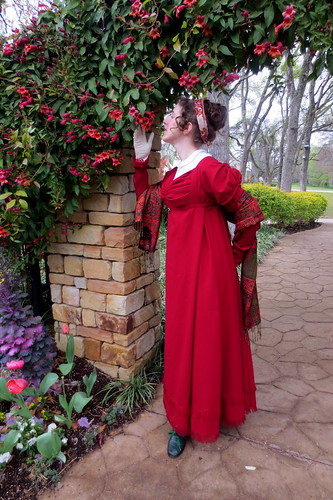
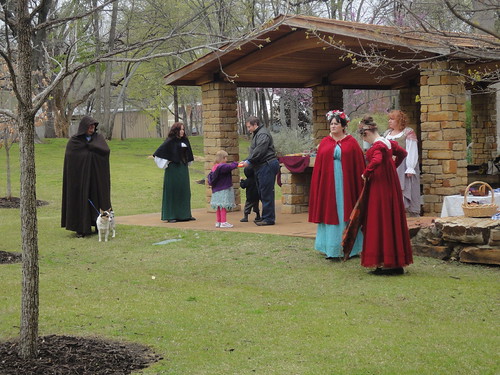
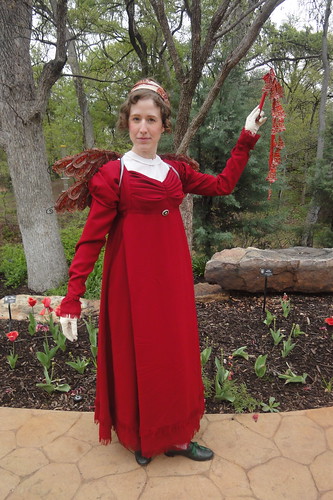
Whew! I am totally exhausted, but it was such a fun time. And imperfections and all, I am very happy with how my whole "look" came out. It's hard for a perfectionist to say, but I think I'm satisfied.

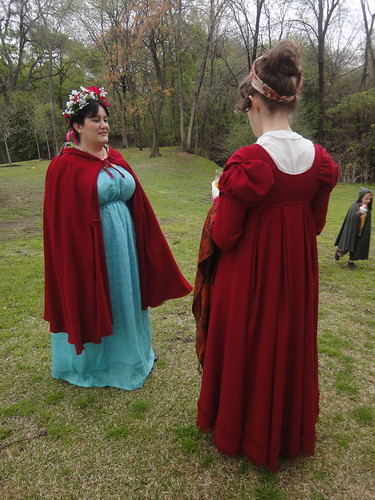
All of these pictures but one are courtesy of Jennifer Thompson. Thank you, Jen! You can see many more at her Flickr here.


IMG_0869

DSC06989

In typical Texas fashion, the weather was totally unpredictable.  March has rapidly warmed up around here. Temperatures in the 80s, strong winds, both humidity and dry weather, lead to severe thunderstorms and grassfire threats. And then the wind shifts around violently and we're cold again.

We hit 88F on March 4, and were back up in the 80s last weekend. (With several cold fronts in between.) Then several weak cold fronts kept us in the 60s with lots of clouds and humidity, and a looming threat of the most rain on Saturday. We played it by ear, kept in touch by Facebook, and went for it.

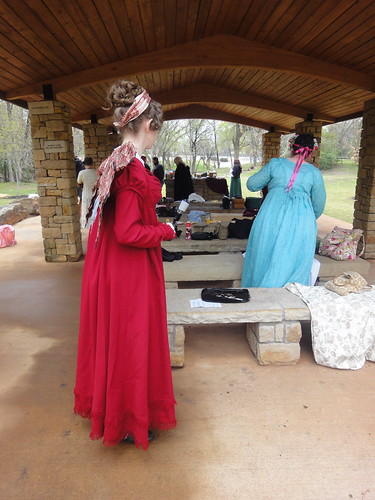
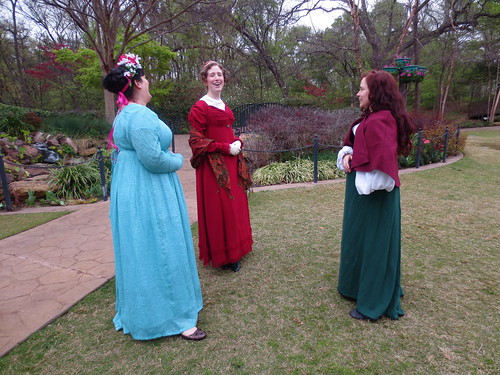
Saturday morning I woke up to a thunderstorm.  I only got a little rain for all the noise it made, and it seemed likely that the actual storms would be done by mid-morning.  It stayed cloudy and chilly, with a high of only 54F, but all we had were sprinkles!  We had a good turnout, including adults, children, dogs, and dolls! and a lovely spread of munchies. The Grapevine Botanic Gardens had a nice pavilion setup with benches and a podium, and plenty of walks for strolling and pictures. No one sat on the ground, but even then it was only slightly muddy.

DSC06939

DSC07005

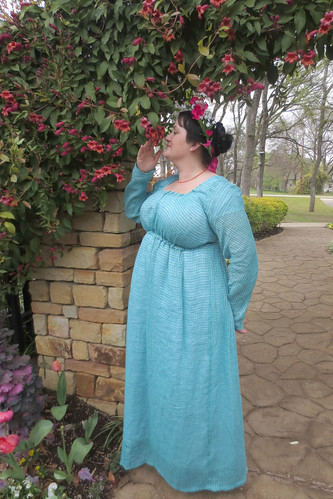
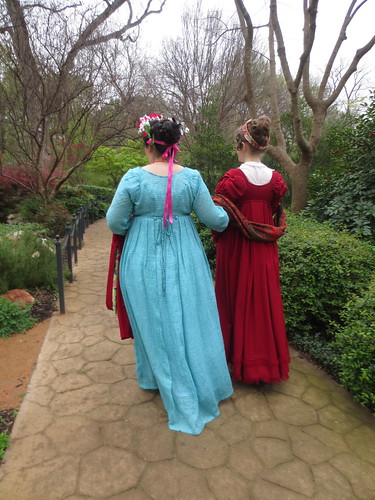
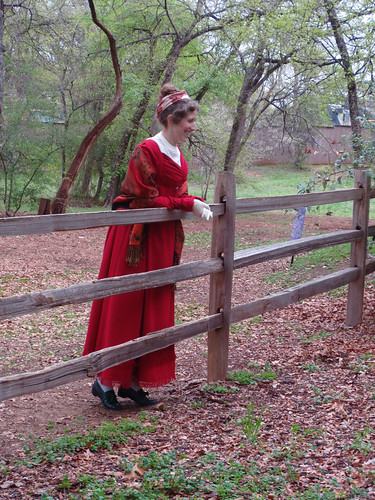
When Jen arrived, she and Erin and I wandered around together, taking pictures and playing at posing. It was fun! The guidelines and ideas I had made posing SO much easier, although I still really relied on Jen to tell me where to turn. White space in particular is hard to achieve by yourself.

DSC06515
I took this one!

Jen got lots of good pictures, some with my wings, and more without them.

DSC06951

DSC06954

DSC06961

DSC06969

DSC06971

DSC06981


I admit I took the wings off fairly early. I think I need more confidence wearing them! It was also cold and I really wanted to wear a shawl.

DSC06986

DSC07013

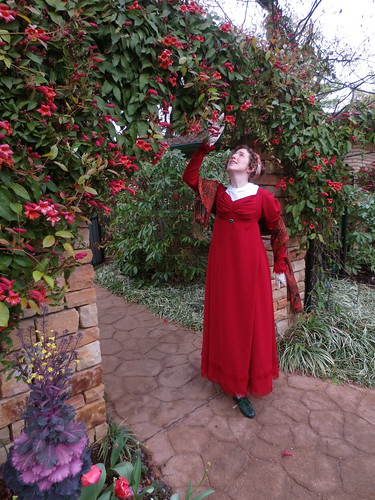
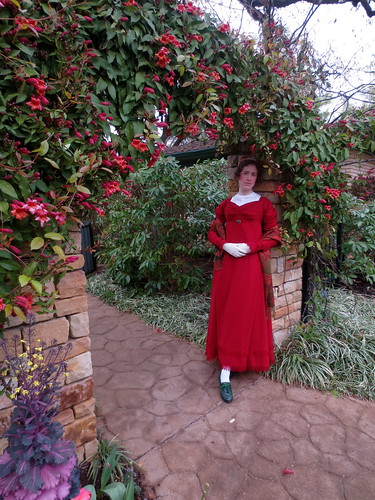
Erin found a wonderful arbor for posing. Are those honeysuckle?

IMG_0865

IMG_0873

IMG_0879

IMG_0881

IMG_0895

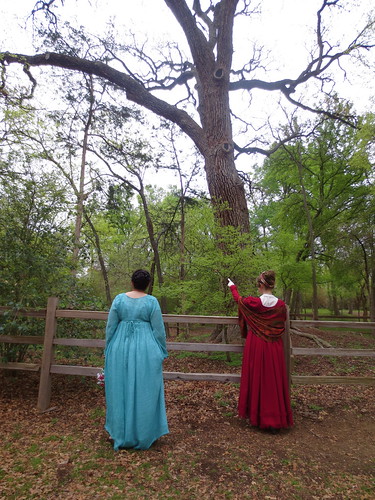
In one area of the gardens was a big tree surrounded by a fence.

IMG_0920


There's a plaque in front of the tree, put there in 1987. It commemorates that this tree (which we think is a post oak) was alive in 1787, the year the U.S. Constitution was signed. So neat! Most of North Texas is prairie, or former prairie, so old trees are unusual.

IMG_0924

Cold, drizzle, and all, it was a great day!

IMG_0912