The Wings
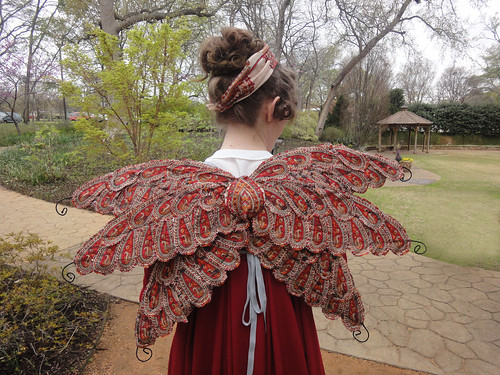
Back in my first post on the Paisley Pixie, I showed the vintage sari that I was going to use to create wings. Last week I finally took pinking shears to it and cut out over 140 large botehs, or paisley motifs.
I took the glittery fairy wings out of their package, spread waxed paper all over my cutting table, swiped a can of spray adhesive from my parents (with permission), and got to work. Or tried to.
I made a foundation layer for the wings from the main part of the sari. I wasn't sure how completely the paisley feathers would cover.
I've never used spray adhesive before; eventually I figured out it wasn't strong enough to hold everything on, even with tissue-thin silk. It stayed sticky, and the fabric started sticking to the wax paper instead of to the wings. I tried putting some of the first paisleys on with adhesive, saturating them to get enough glue. Instead they just turned dark, with a sticky layer of visible glue on the surface of the fabric.
Real fabric glue was the next step. I grabbed the first thing I found at Joann's and tried again. It worked much better, although it was very thick and stringy, like hot glue, and I quickly ran out. I did most of the front of the wings with it, though, and was encouraged.
Next time I got a different kind of glue. It was more liquid and much easier to use. Unfortunately, it also soaked through and darkened the silk, permanently. I didn't discover this until the back side of the wings - the side totally unblocked by my body when worn - had been finished. After giving up for a few days, I used extra paisleys and carefully layered them over the darkest and most obvious blotches. That was as good as I could get it.
The wings, as originally designed, stayed in position between my shoulder blades with some elastic loops. The glue and silk, although super light, added enough weight that the finished wings sagged. So I pinned some gray twill tape to the center back and used it to tie the wings into place.
The Accessories
I don't think I got any pictures with the fringed reticule. It was used, though, and very glad I was to have it.
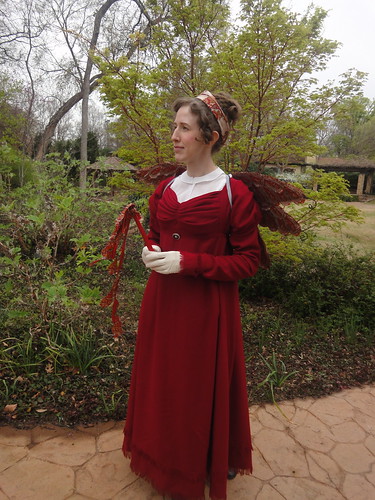
The wand is a medium-sized loom bobbin. I found it at the Antique Elegance show in February for $6. I tied on some streamers of scrap from cutting out the bobbins and went with it. I figured a bobbin was appropriate for a Paisley Pixie!
The chemisette is one I made for 1860s several years ago, with a plain narrow collar. It's not so typical a style for the 1800s-1810s, but it's perfectly plausible. And it was far better than nothing. I have plans for different types of chemisettes, ruffs, and even a "habit shirt" for this dress eventually.
I wore green Robert Land shoes. These are appropriate for the 1810s, although the latchet style seems like a throwback to the 1770s and 1780s. But the flat profile and rounded toe is a transition, from the pointy-toed heels of the 1790s and pointy-toed flats of the 1800s to the square toes of the 1830s.
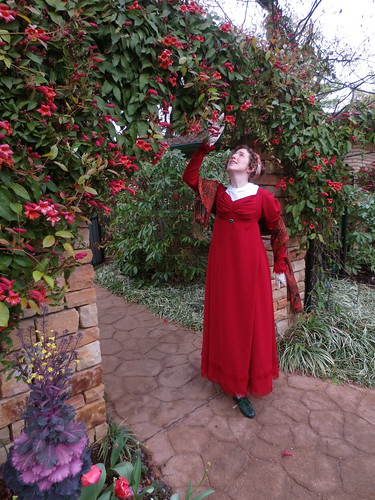
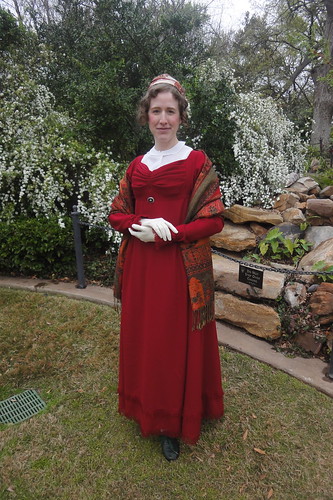
The shawl I picked up at a Civil War reenactment several years ago; I honestly don't remember where. It's not really big enough for either the 1860s or for Regency, but the pattern is wonderful. If I ever find the source again, I want to get two and seam them together for the perfect Regency shawl.
And finally, gloves. These are a total cheat: 1950s nylon! But they are finished and embossed to look like kid leather. Real kid leather gloves get brown spots when they get wet, so I was not going to use my nice leather gloves on a picnic. Sorry, world! I'm meditating a search for mustard yellow leather gloves, though. Yellow was a popular color for gloves and shoes. Wouldn't that be nice with the red?


No comments:
Post a Comment